In the previous four articles of this series, we developed a simple weather forecast website using the Flask framework of Python, and deployed this website to a private server using Docker, so that our website can be accessed on the public network.
However, not everyone has their own server. To make the deployment of the website easier, we can use cloud servers provided by cloud service providers such as AWS or Google Cloud to deploy our website.
In general, deploying to AWS involves the following steps:
Create an AWS account and get the Access Key and Secret Key
Configure the AWS command line tool
Create a security group
Create a database
Create a container image for the app
Create an App Runner
Create an AWS account and get the Access Key and Secret Key#
First, we need to register an account on the AWS website and then create a new IAM user in the console. You can search for “IAM” in the search box at the top to find the IAM service.
In the IAM service, select “Users” and then click “Add user”.
The username can be any, no need to check “Enable console access”
Check the “AdministratorAccess” permission
After checking, select create
After creating, go to the user details page, select the “Security credentials” tab, and click “Create access key”.
Check the “Command Line Interface” option when creating
Click “Next” to create
Record the Access Key and Secret Key in a secure place. These two keys are displayed only once. If you forget the Secret Key, you can only create a new Access Key.
To facilitate the use of AWS services and avoid the tedious operations on the web, we can use the AWS command line tool provided by AWS to manage our cloud servers.
Install the AWS command line tool
You can refer to the AWS official documentation to install the AWS command line tool. Be sure to choose the installation method that suits your operating system.
After installation, you can check if it is installed successfully by entering aws --version in the command line.
Configure the AWS command line tool
Enter aws configure in the command line, and then enter the Access Key and Secret Key you just created, as well as the default region and output format.
1
2
3
4
5
$ aws configure
AWS Access Key ID [None]: AKIAIOSFODNN7EXAMPLE
AWS Secret Access Key [None]: wJalrXUtnFEMI/K7MDENG/bPxRfiCYEXAMPLEKEY
Default region name [None]: us-west-2
Default output format [None]: json
After configuration, you can enter aws configure list in the command line to view the configuration information.
AWS has high requirements for the security of cloud services. We need to create a security group to control the rules for accessing our cloud server. Here, the main purpose is to allow access to the MySQL database we are going to create through port 3306 from the outside.
Search for “security group” in the AWS console to enter the security group page.
Click “Create security group”.
Security group name: can be any, such as “flask-weather”
Description: can be left blank
VPC: select the default VPC
Add rule: add a rule, allow TCP protocol, port 3306, source “Anywhere”
Next, we need to create a database on AWS to store the data of our website. The database hosting service provided by AWS is called RDS.
Search for “RDS” in the AWS console to enter the RDS service page.
Click “Create database”.
Select the database creation method: select “Standard create”
Select the database engine: select MySQL
Select the database instance size: select “Free tier”
Set the database instance identifier, master username, and password
Set the database instance category, storage, VPC, subnet group, security group, etc., and select the security group created earlier
Finally, click “Create database”
It takes some time to create the database. After the database is created, you can find the database endpoint on the database details page, and then you can use some database connection tools to connect to the database.
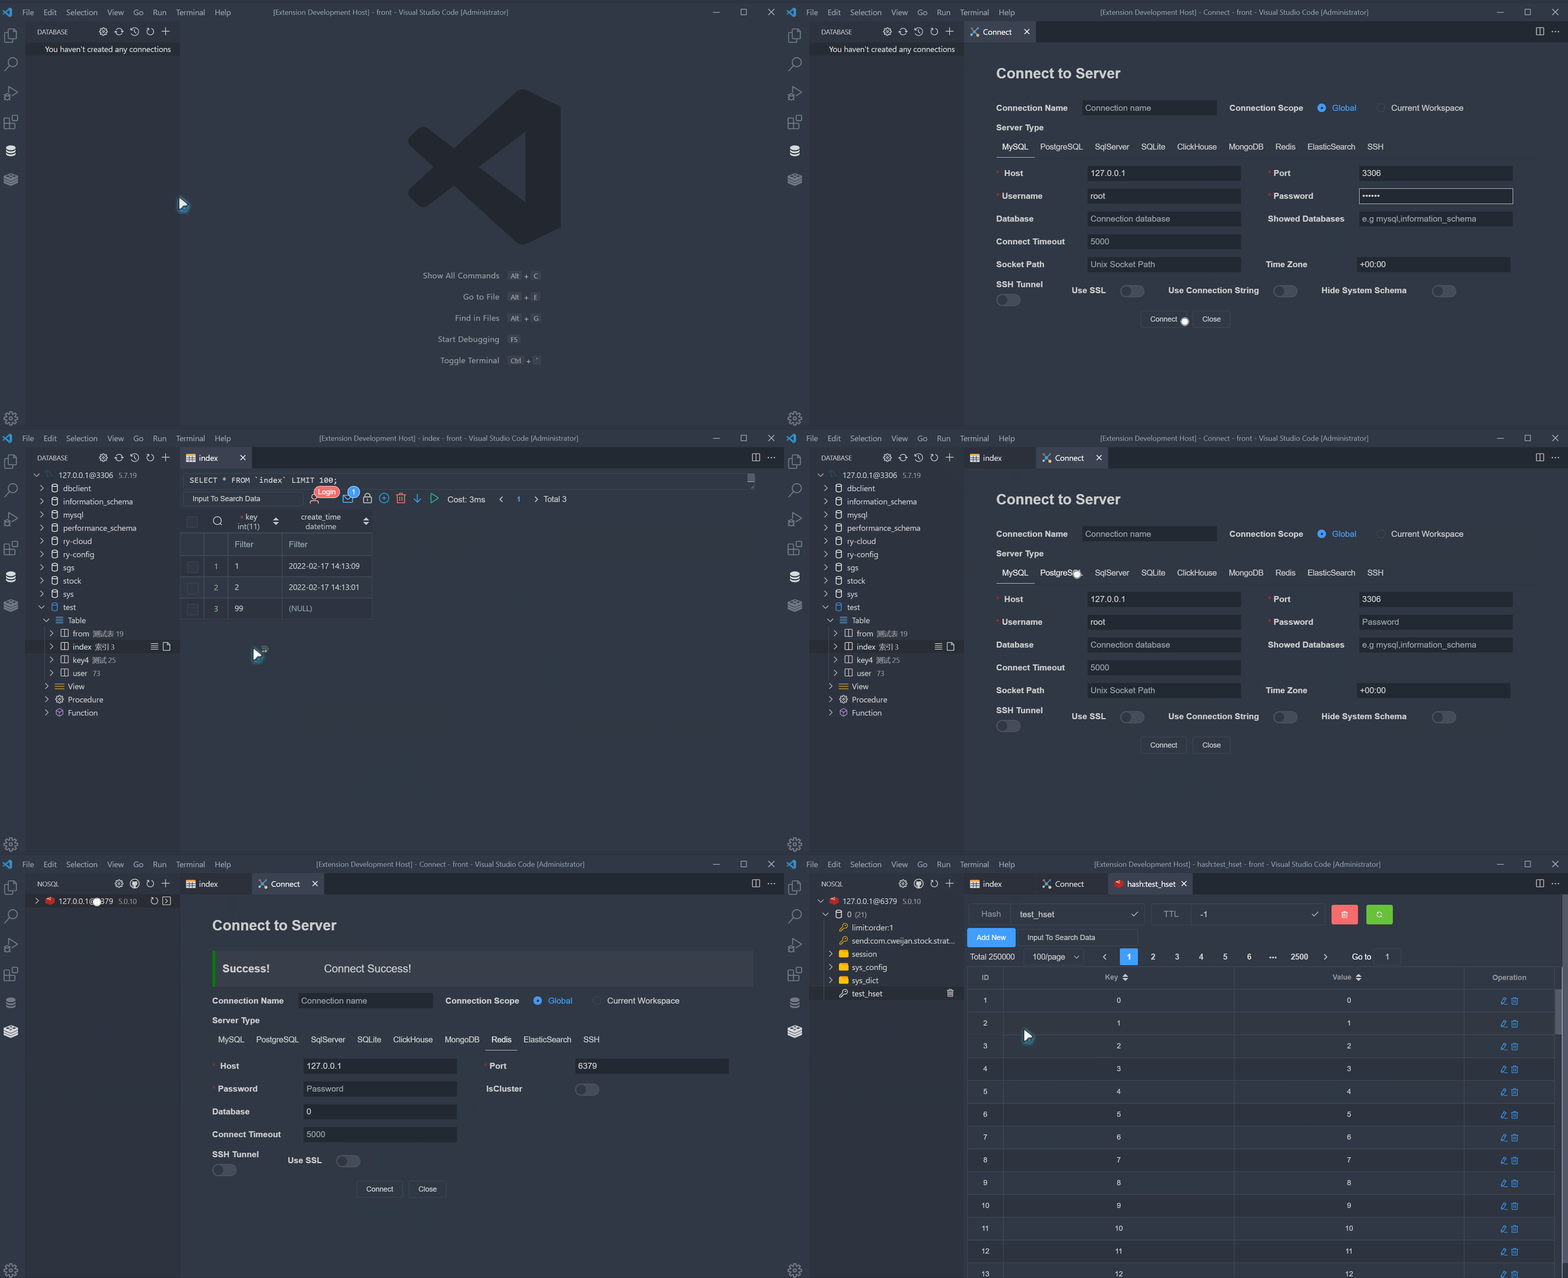
The database connection tool I often use is the VS Code plugin MySQL, which can connect to the database directly in VS Code, which is very convenient.
Modern web applications are generally deployed using container technology. We can use Docker to create a container image and then deploy this image to AWS’s App Runner.
First, we need to create an ECR (Elastic Container Registry) on AWS to store our container image.
Search for “ECR” in the AWS console to enter the ECR service page.
Click “Create repository”.
Repository name: can be any, such as “flask-weather”
Tags: can be left blank
Encryption: can be left blank
Finally, click “Create repository”
After creating, record the URI of the repository, which will be used later.
Create a Dockerfile in the project directory to build the container image.
The content of this Dockerfile is basically the same as the Dockerfile used to deploy the website using Docker, except that we use the slim version of Python 3.9 as the base image here.
Create a requirements.txt file in the project directory to record the project’s dependencies.
The content of this file is basically the same as the requirements.txt file used to deploy the website using Docker, except that we use Flask 2.0.1 here.
Create a .dockerignore file in the project directory to ignore some unnecessary files.
After completing the deployment above, we can access our website through the domain name provided by AWS App Runner. However, the domain name provided by AWS is generally long and contains a random string, which is not easy to remember. We can bind the website deployed on App Runner to our own domain name.
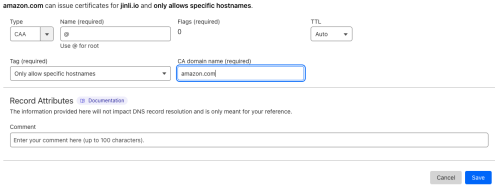
Directly binding our own domain name to App Runner will result in a “Create Failed” error. The reason is that App Runner needs to issue a certificate for our domain name to use HTTPS, but our domain name does not list Amazon as a trusted certificate authority. We need to add a CAA record to the domain’s DNS server so that App Runner can issue a certificate for our domain name.
Certificate Authority Authorization (CAA) record
Add a CAA record to the domain’s DNS server, with the name @ and the value amazon.com. This means that Amazon can issue certificates for any subdomain under our domain name.
Bind the domain name on App Runner
In the App Runner service page, click the service name, then click the “Domain” tab, and click “Bind domain”.
Domain name: enter our own domain name
Click “Bind domain”
After binding, you can access our website in the browser.
Python Web Development Series -
This article is part of a series.