
Motivation
In the previous post, I covered how to use Obsidian and Nextcloud to manage notes. The title of the previous article uses the word “all platform”, which means that Obsidian supports multiple platforms such as Windows, Linux, Mac, Android, etc. Generally speaking, this is enough, but it is still inconvenient in some scenarios.
For example, some work computers do not allow arbitrary software installation, making it impossible to use Obsidian on those machines. To truly achieve cross-platform compatibility, I believe a web version is necessary. After some online searching, I found that someone had already implemented a web version of Obsidian, so I decided to give it a try. Objectively speaking, the web version of Obsidian is still not very mature and feels a bit rough around the edges, but the basic functionality is there. Therefore, I deployed it on my own server for occasional use.
For other articles in this series about Obsidian, see:
Prerequisites
The basic prerequisites for deploying various container services are as follows:
- A computer that can serve as a server
- Docker and Docker Compose
Obsidian Docker
Obsidian Docker Overview
The web version of Obsidian is an open-source project developed by linuxserver.io, which is based on the core functionality of Obsidian and provides a web interface. It can run through a Docker container, making it very suitable for deployment on servers. Its GitHub address is: docker-obsidian.
docker-obsidian uses KasmVNC as the web interface. KasmVNC is a web desktop solution based on VNC. It allows users to access the Obsidian desktop environment through a browser.
docker-obsidian includes some customizable options, such as support for HTTP basic authentication, allowing users to set a username and password to protect access to Obsidian when deploying the container.
Deploying Obsidian Docker
Project Structure
Similar to the previous container deployment, we use docker compose to deploy Obsidian. First, create a directory to store the configuration files and data:
1
2
mkdir -p ~/docker/obsidian cd ~/docker/obsidianIn this directory, we create two files:
docker-compose.ymland.env.docker-compose.yml
1 2 3 4 5 6 7 8 9 10 11 12 13 14 15 16 17 18 19 20 21services: obsidian: image: lscr.io/linuxserver/obsidian:latest container_name: obsidian security_opt: - seccomp:unconfined #optional environment: - PUID=1000 - PGID=1000 - TZ=America/New_York - DOCKER_MODS=linuxserver/mods:universal-package-install - CUSTOM_USER=${CUSTOM_USER} - PASSWORD=${PASSWORD} volumes: - ${APP_DIR}/config:/config shm_size: "1gb" restart: unless-stopped networks: traefik-net: aliases: - obsidian.env
1 2 3APP_DIR=/media/user/docker_data/obsidian CUSTOM_USER=username PASSWORD='your_password_here'Here,
APP_DIRis the directory for Obsidian’s configuration files and data storage,CUSTOM_USERis the username you want to use, andPASSWORDis the password for accessing Obsidian.
Start the Container
1docker compose up -dAfter running the above command, Docker will automatically download the Obsidian image and start the container. The default port used by docker-obsidian is 3000, and you can access Obsidian through your browser at
http://your_server_ip:3000.Reverse Proxy
There are various ways to set up a reverse proxy for the container to access it via a domain name. I have previously written articles on using Nginx, Traefik, and Cloudflare Tunnel for reverse proxying. You can refer to the following articles for details:
Initial Configuration of docker-obsidian
If the above steps are successful, you should be able to access the Obsidian web interface through your browser.
On the first visit, you will see a login authentication pop-up.
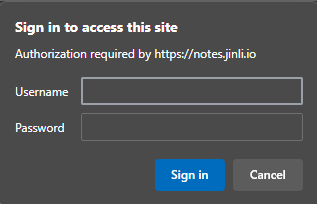
Enter the username and password you set in the
.envfile.After logging in, you will see the Obsidian web interface:
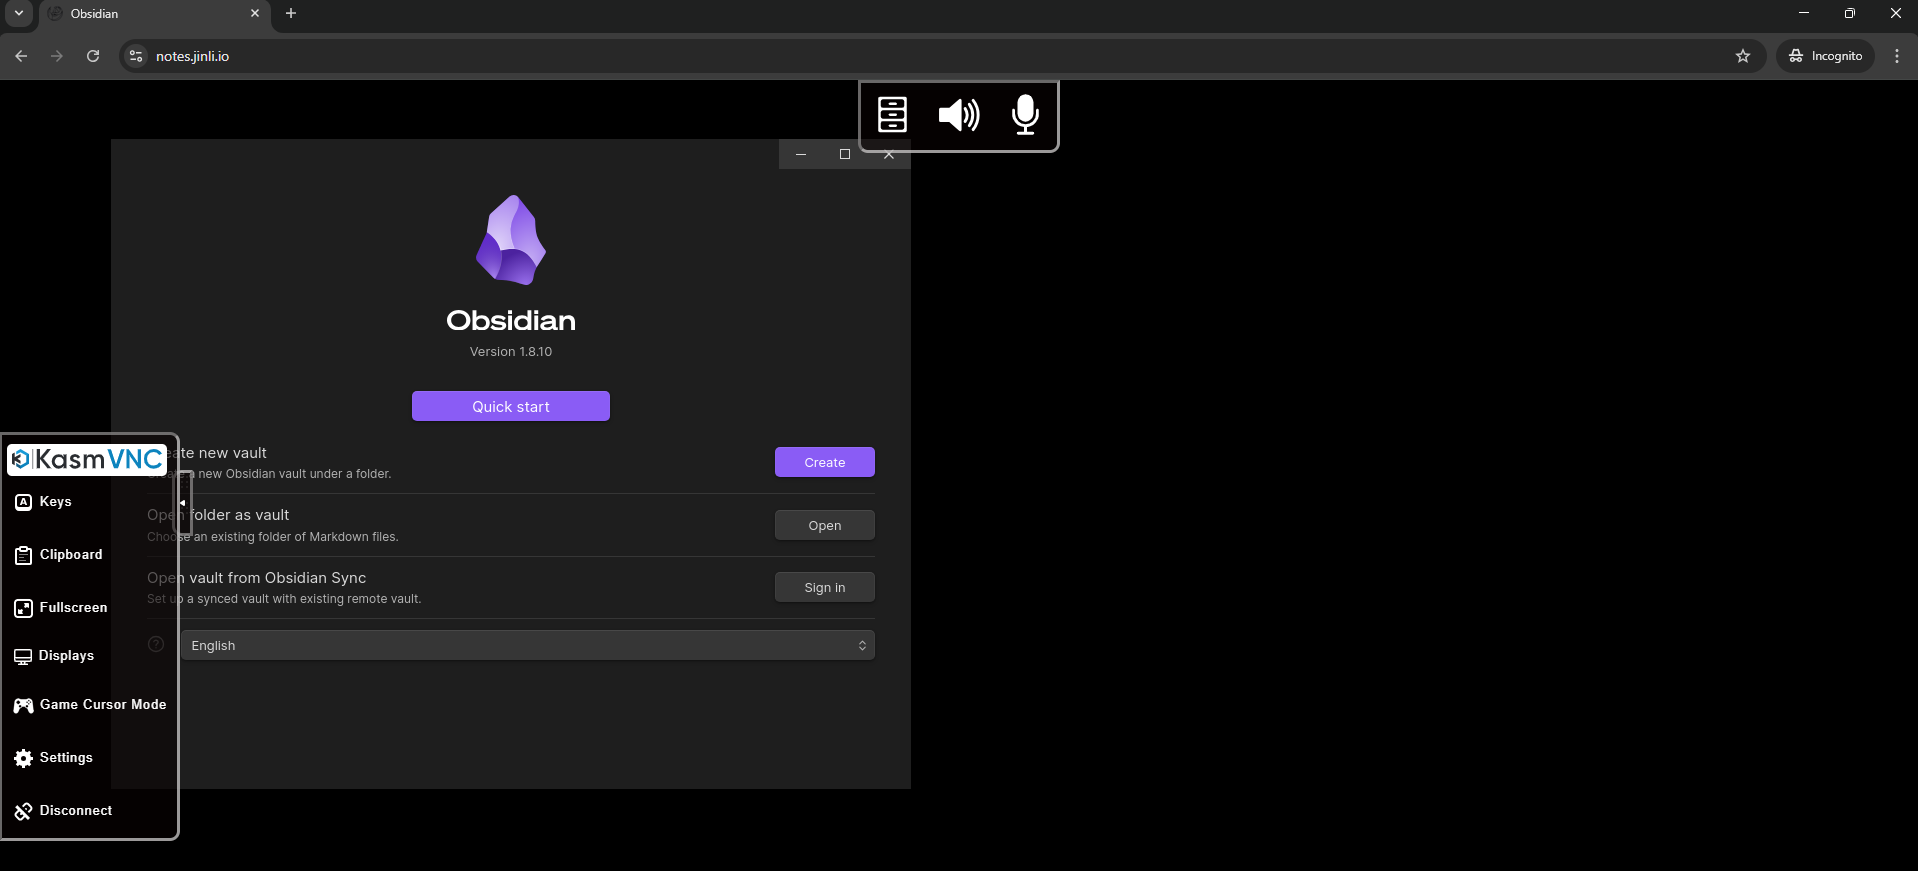
This interface is similar to the desktop version of Obsidian, but you will also see the KasmVNC toolbar at the top and side.
At the same time, a pop-up will appear in the browser, prompting you to authorize access to the clipboard:

Click “Allow” to enable clipboard functionality in Obsidian. Otherwise, content copied elsewhere will not be able to be pasted into the Obsidian web version, and vice versa.
Then initialize Obsidian, making sure that the name of the note repository is consistent with the name you used in other Obsidian clients so that synchronization can occur. Other settings, such as enabling plugins and setting up cloud synchronization, are the same as in the desktop version of Obsidian. You can refer to my previous article: Obsidian (1): All-platform Notes Management Software.
Once the setup is complete, you can start using Obsidian:
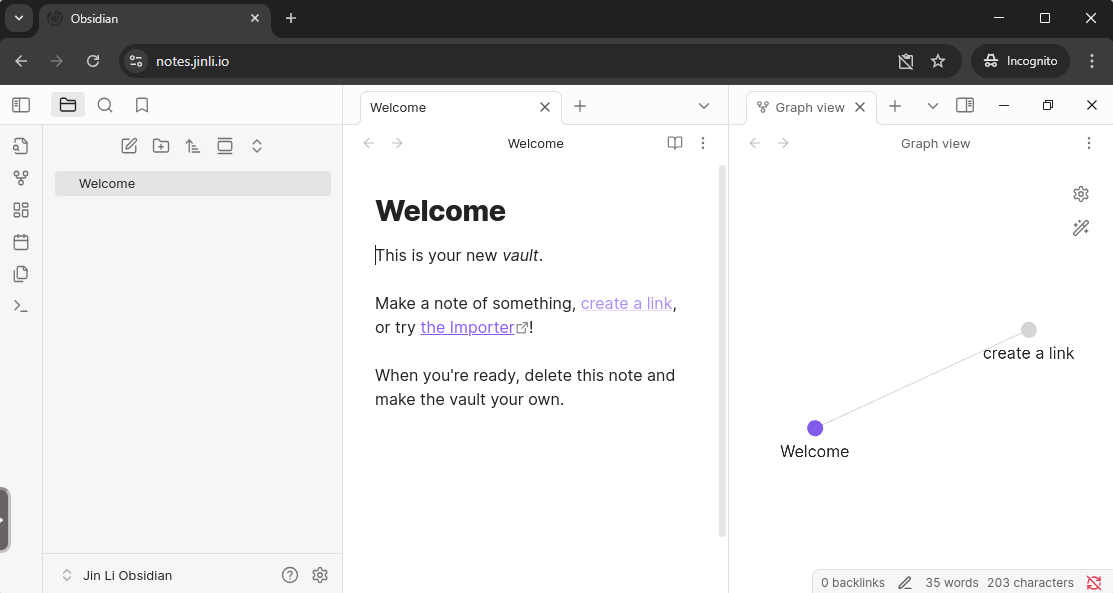
You can use all the features of Obsidian in your browser, including editing notes and using plugins.
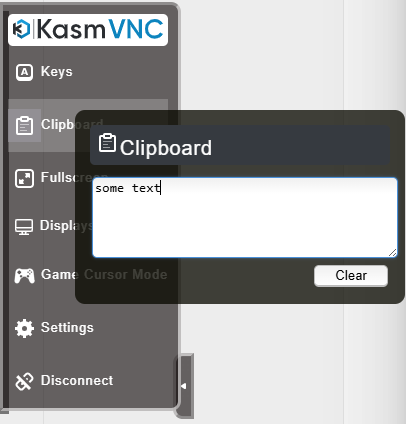
Pasting content copied elsewhere seems to not work directly in Obsidian; you need to use the KasmVNC clipboard feature to achieve this:
Small Issues and Solutions
I found that the web version of Obsidian cannot display Chinese characters:
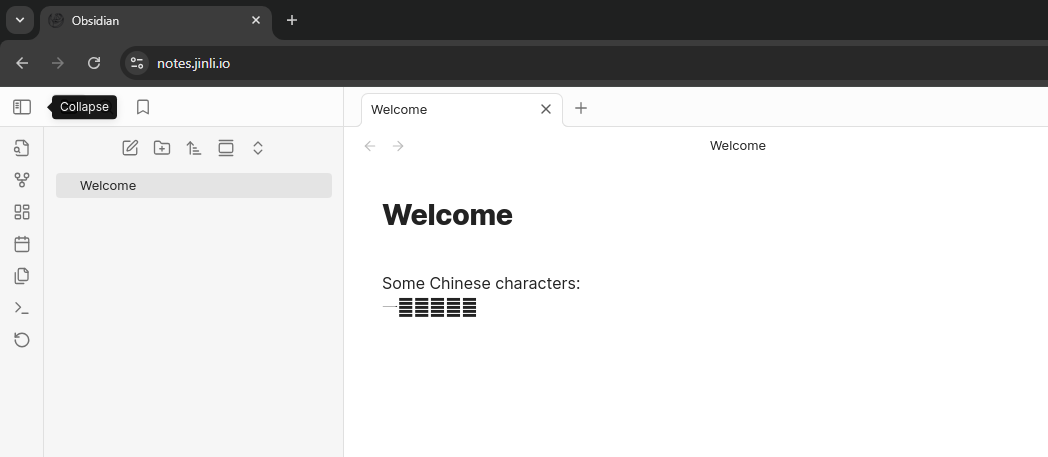
The solution is to install fonts that can display Chinese characters when the container starts and set the LC_ALL environment variable.
To do this, add the following environment variables to your docker-compose.yml:
| |
Then restart the container:
| |
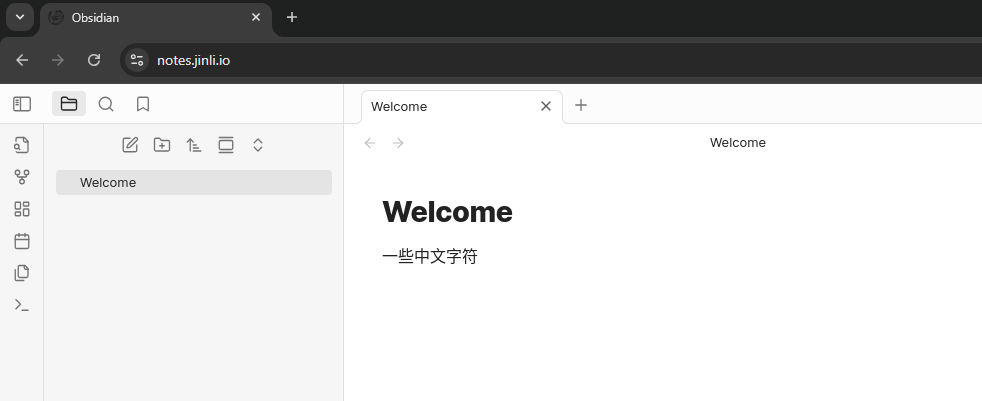
Now the obsidian web version should be able to display Chinese characters normally:
Conclusion
The web version of Obsidian, while not yet fully mature, already provides basic functionality sufficient for daily use. Deploying the web version of Obsidian through a Docker container allows for easy operation on a server and access via a browser. This truly achieves cross-platform note management.